

This section covers ways you can edit objects in the current selection set.
Components of Select Edit Mode
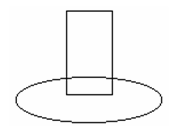
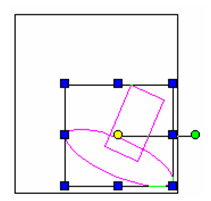
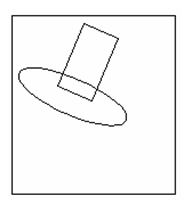
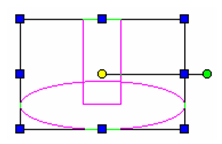
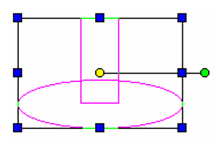
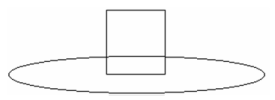
For this section, consider the following example of two 2D objects.
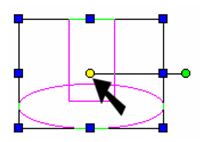
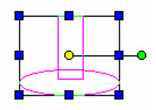
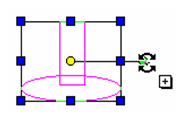
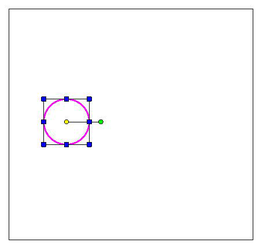
When they are both selected in Select mode, the selection set appears in magenta, with several small circles and squares. The yellow circle is the reference point. By default, it is located at the center of extents of all selected objects, but it can be moved. It is used for moving, and as a reference for rotating and scaling.
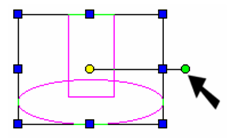
The green circle is the rotation handle. You can click and drag this point to rotate the objects around the reference point.
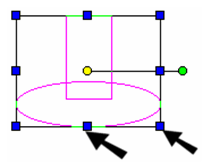
The blue squares are drag handles. You can click and drag these handles to scale the objects. Click an interior handle to resize one dimension of the rectangle. Click on a corner handle to resize both dimensions.
Changing the Reference Point
To move the reference point, you must first select (or pick) it. There are several ways to do this:

The cursor changes to a hand symbol.
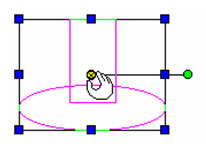
Move the reference point to its new location, in this case the quadrant point of the ellipse.
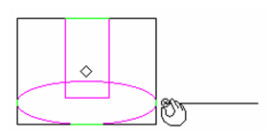
Now any moving, scaling, or rotating will be done relative to this new point.
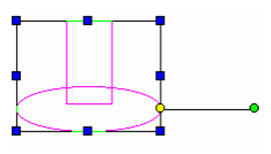

To return the rotation bar to its default position, select Default Reference Point from the local menu, or click the icon on the Inspector Bar.
For both ends of the rotation bar, you can select the points by pressing Ctrl and clicking. (The yellow point is the reference point and has additional ways to be selected.) The cursor changes to a hand symbol. In this example, the reference point is moved first.
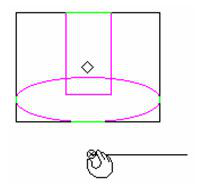
The green rotation handle is selected and moved the same way.
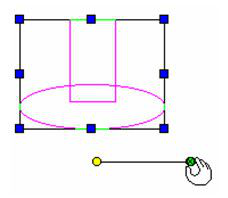
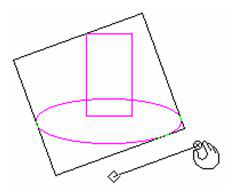
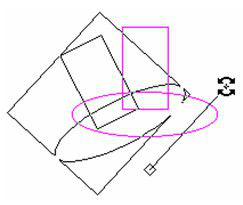
When you move the rotation bar, whether the selection rectangle changes depends on the Link Selector Shell option in the Selector 2D page of the Selector properties.

To return the rotation bar to its default position, select Default Rotation Bars from the local menu, or click the icon on the Inspector Bar. Now any rotating will be done relative to the new rotation handle and reference point.
Copying Objects in Select Edit
This section covers ways you can copy objects while in Select mode. While these methods are generally the most convenient for making quick copies, there are other tools you can use for more complex and detailed copying. For other tools you can use to copy objects relative to specific points,
Creates one copy of the selected objects.
Warning: If you want to change the reference point, do not do so while Make Copy is active, or you will create a copy on top of the original. Change the reference point first, then activate Make Copy.

Simple Dragging to Copy
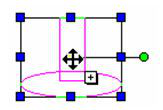
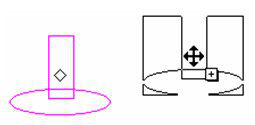
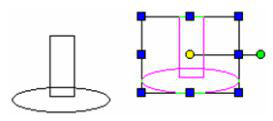
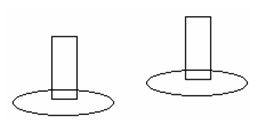
If you place the cursor anywhere inside a selection other than on the reference point, you can simply drag the selection (keeping the mouse pressed) to another location within the drawing. If Make Copy is active, the objects will be copied instead of moved. To activate Make Copy, select it from the local menu, or click the icon on the Inspector Bar.

With simple dragging, you cannot use snaps or the Coordinate Fields, but it is convenient if you do not need accurate placement. Turn off Make Copy when it is no longer needed.
Creates multiple copies of the selected objects.


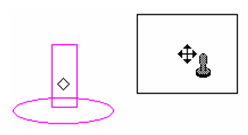
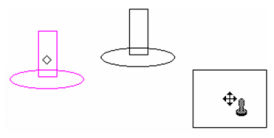
The original objects are still selected.
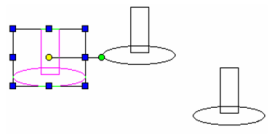
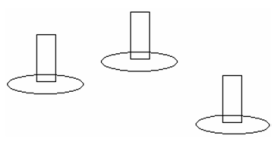
Making a Rotated Copy
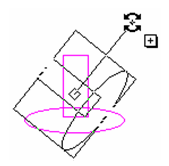
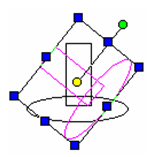
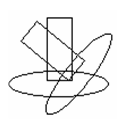
Creates one rotated copy of the selected objects.


Making a Scaled Copy
Creates one scaled copy of the selected objects.


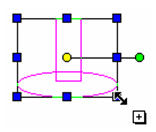
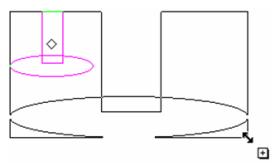
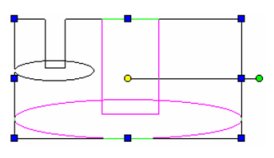
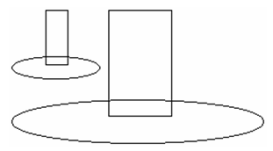
Using Ctrl to Copy
An easy way of creating one copy of selected objects is to use the Ctrl key. The procedure is basically the same for moving, rotating, or scaling objects.
Geometric extents are based on the distances between object vertices (the three corners points of a triangle or the two endpoints of a line). Cosmetic extents are based on distances between the outermost points on the object that will be drawn with the minimum (zero) pen width. Therefore, the difference between the two modes is relevant for objects such as double lines, multi lines, and objects that have a nonzero pen width. The select mode will come into play when using snaps and assigning dimensions. For most applications, and for greater accuracy, use Geometric select mode. There are two main advantages to using Geometric select mode: When you scale using geometric extents, it is easy to see exactly what is going to be scaled. For example, if you scale a double-line object, the double-line separation distance and pen width are not scaled. Geometric select mode makes this visually obvious. When you scale an orthogonal linear object using geometric extents, you get accurate results. For example, if you scale a 1-inch horizontal line segment 200 percent along the X axis, the line segment will always be 2 inches long. If you were to use cosmetic extents, the results would vary depending on the pen width.
Tip: If you want to change the width (separation distance) or pen width of a double line, you can enter new values in the Properties window.
The disadvantage of geometric selection is that if you snap the endpoint of a wide line to another object, the cosmetic end of the line will overlap the object. You can work around this problem by selecting a line using cosmetic extents and using a snap mode to position the cosmetic end of the line.
Warning: Geometric select mode is not the installation default. If you choose to use Cosmetic select mode, zoom in closely and be careful where you snap. If you set Geometric select mode, it will remain active the next time you open TurboCAD.
The easiest way to move objects is to select the objects, then click and move their reference point. You can also specify the move distances in the coordinate fields.
Note: To move (or copy) objects relative to specific points or objects,
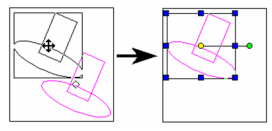
Note:You can make a copy by clicking the reference point, pressing Ctrl, and then locating the new reference point.
Moving along One Axis
You can move or drag an object along the X or Y axis (or Z for a 3D object by clicking and moving the axis handle itself.
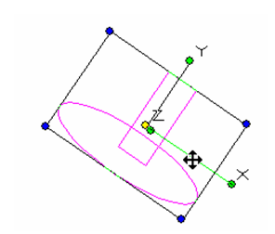
If you place the cursor anywhere inside a selection other than on the reference point, you can simply drag the selection (keeping the mouse pressed) to another location within the drawing. With simple dragging, you cannot use snaps or the Coordinate Fields, but it is convenient if you do not need accurate placement.
OLE Drag and Drop
This method is essentially the same as moving objects in Select mode (clicking and moving the reference point.) However, for OLE drag and drop, the object is dragged - the mouse is kept pressed while moving. The main advantage of OLE drag and drop is you can copy the selection from one drawing into another, or even from a drawing into another application. You may also use this method to create symbols or blocks by dragging into the Library palette or Block palette.
Warning: The behavior of snap modes is slightly unusual when you are moving an object using OLE drag and drop. It is therefore not a recommended method for moving objects that require precise placement.
Nudging moves objects by small increments.  If you pick up an object you can nudge its position using the numeric keypad. The NumLock key must be on for this to work.
  You can pick up a selected object by clicking its reference point, but it is better to use Ctrl + Num 5. Ctrl + Num 5 will pick up the object without any possibility of you accidentally dragging the object.
  Use 4 and 6 to move the object along the X Axis.
 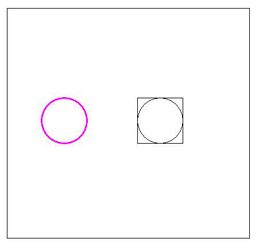 Use 8 and 2 to move the object along the Y Axis.
  Each time you tap a key the object will move a small amount in the associated direction. Holding down the Shift key will cause the distance moved to be significantly greater. You can drop a selected object by clicking its reference point, but it is better to use Ctrl + Num 5. Ctrl +Num 5 will drop the object without any possibility of you accidentally dragging the object. The Nudge distance is specified in Options | Program Setup | Advanced Preferences
The easiest way to rotate objects is to select the objects, then click and move their rotation handle. You can also enter rotation values in the Inspector Bar.
Note: To rotate (or copy) objects relative to specific points or objects,
Tip: If you are using the 3D Selector, you can lock a rotation axis. Right-click on the rotation handle and select Lock Axis from the local menu.
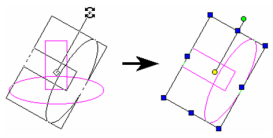
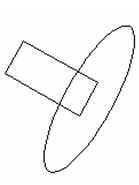
Note: You can make a copy by clicking the rotation handle, pressing Ctrl, and then rotating.
The easiest way to scale objects is to select the objects, then click and move drag handles. You can also enter scale values for relevant axes in the Inspector Bar.
Note: To scale (or copy) objects relative to specific points or objects,
Tip: If you are scaling an ACIS solid object, you can specify uniform scaling or enable scaling in all axes -

You can also maintain the aspect ratio by clicking a drag handle and pressing Shift while resizing.
You can use Keep Center of Extents when scaling. This option forces all scaling to occur relative to the center of the object. If this option is off all scaling will occur relative to the reference point.

Note: You can make a copy by clicking the drag handle, pressing Ctrl, and then resizing. Click on a corner handle to scale in more than one dimension.
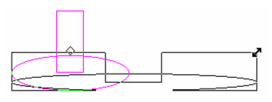
Click on an interior handle to scale in one dimension only.
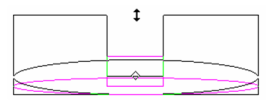
When the objects are resized, click anywhere or press Esc to exit Select mode.
Note: If the object you are scaling contains double lines or lines drawn with a pen width greater than 0, the results of scaling a selection will vary, depending on whether you are using Geometric or Cosmetic selection. For accurate results, use the default Geometric select mode.
Select Edit in 3D
The Select Edit tools. As with Select Edit for 2D objects, you can move, rotate, scale, and copy objects when they are selected. The only difference is that with 3D space there are additional options for movement. Whereas in 2D, you can only rotate in the XY plane, 3D objects can be rotated in the XZ and YZ planes as well. Movement can be in the Z direction, in addition to X and Y. You need to activate the 3D Selector in order to have all editing tools available.